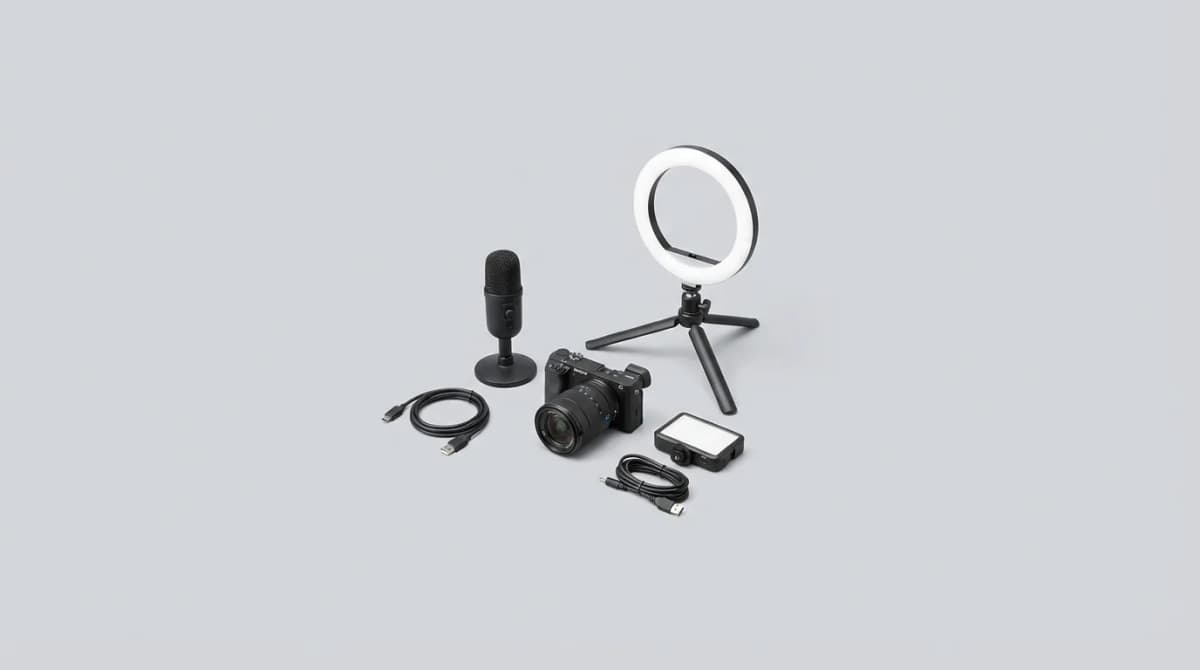
Content Creator Starter Kit: Audio, Lighting, and Cameras
Stop wasting budget on the wrong gear. Here's what actually matters for your first content setup - tested across YouTube, podcasts, and streams.
You don't need a $3,000 RED camera to start making content that people want to watch. Most beginners overspend on cameras and neglect the two things viewers actually notice: clean audio and decent lighting. Your phone's camera is already better than the equipment Casey Neistat used in his early videos. The difference between unwatchable and professional isn't gear - it's knowing what to prioritize.
We've tested dozens of starter setups across YouTube channels, podcasts, and Twitch streams. The best beginner kit costs under $500 and outperforms most $2,000 setups from five years ago. Here's what actually works.
Why Audio Quality Matters More Than Video
Bad audio makes people click away faster than blurry footage. Your brain can tolerate shaky or soft-focus video for minutes, but harsh audio or background noise triggers an immediate exit. The most successful content creators learned this early - Mr. Beast's early videos look terrible but the audio is always clear.
A $70 USB microphone will make you sound better than 90% of creators using their camera's built-in mic. The difference isn't subtle. Built-in mics pick up room echo, keyboard clicks, and every air conditioner hum. A dedicated mic focuses on your voice and rejects background noise.
The Audio-Technica ATR2100x-USB solves this problem completely. It's a dynamic USB mic that connects directly to your computer, requires zero setup, and sounds identical to mics costing three times more. Dynamic mics reject room noise better than condenser mics, which matters if you're not recording in a treated space.
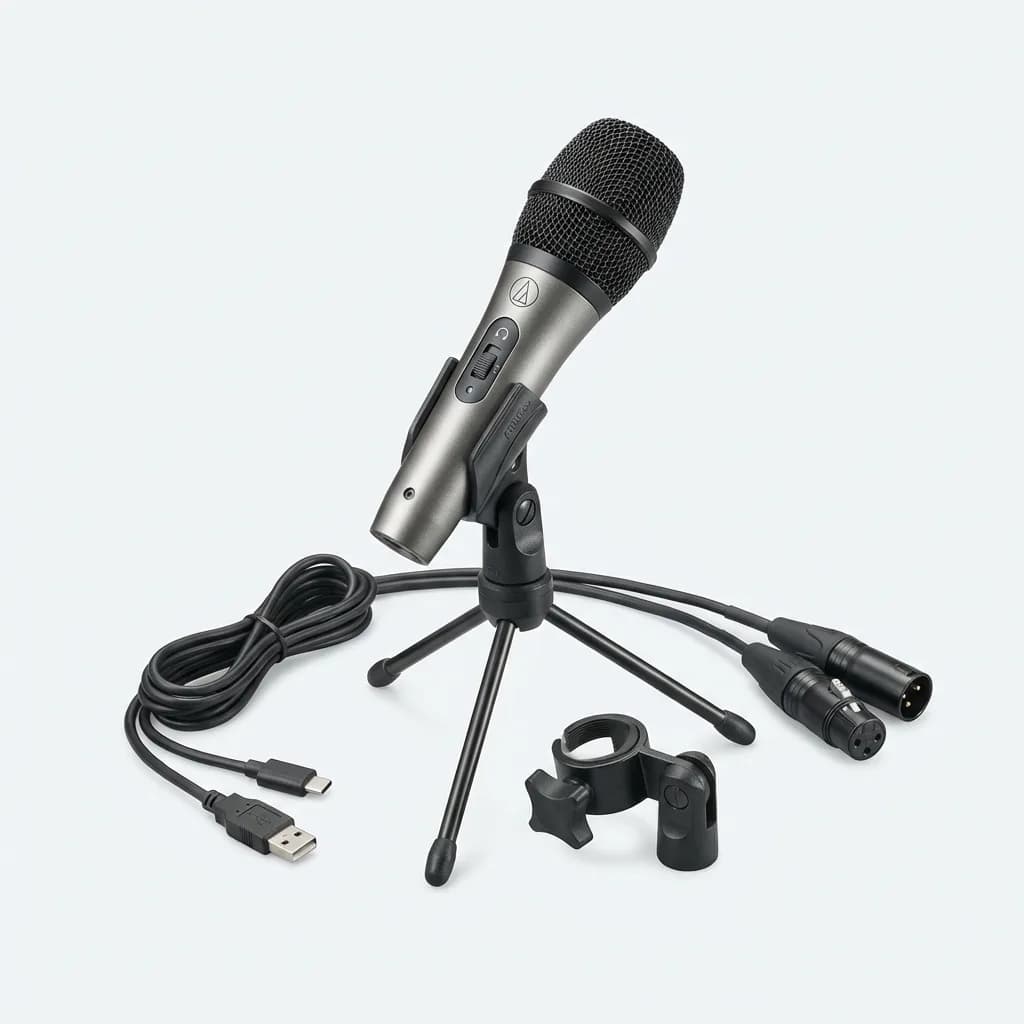
Audio-Technica ATR2100x-USB
$79
USB/XLR dynamic microphone with built-in headphone monitoring. Rejects background noise better than condenser mics. Works with computers and audio interfaces.
Lavalier mics work better for video where you're moving around. The Rode Wireless Go II is the standard for a reason - it's genuinely wireless (no cable between transmitter and receiver), has built-in recording as a backup, and clips to any shirt. Cheaper lavaliers sound thin and pick up clothing rustle. The Rode doesn't.
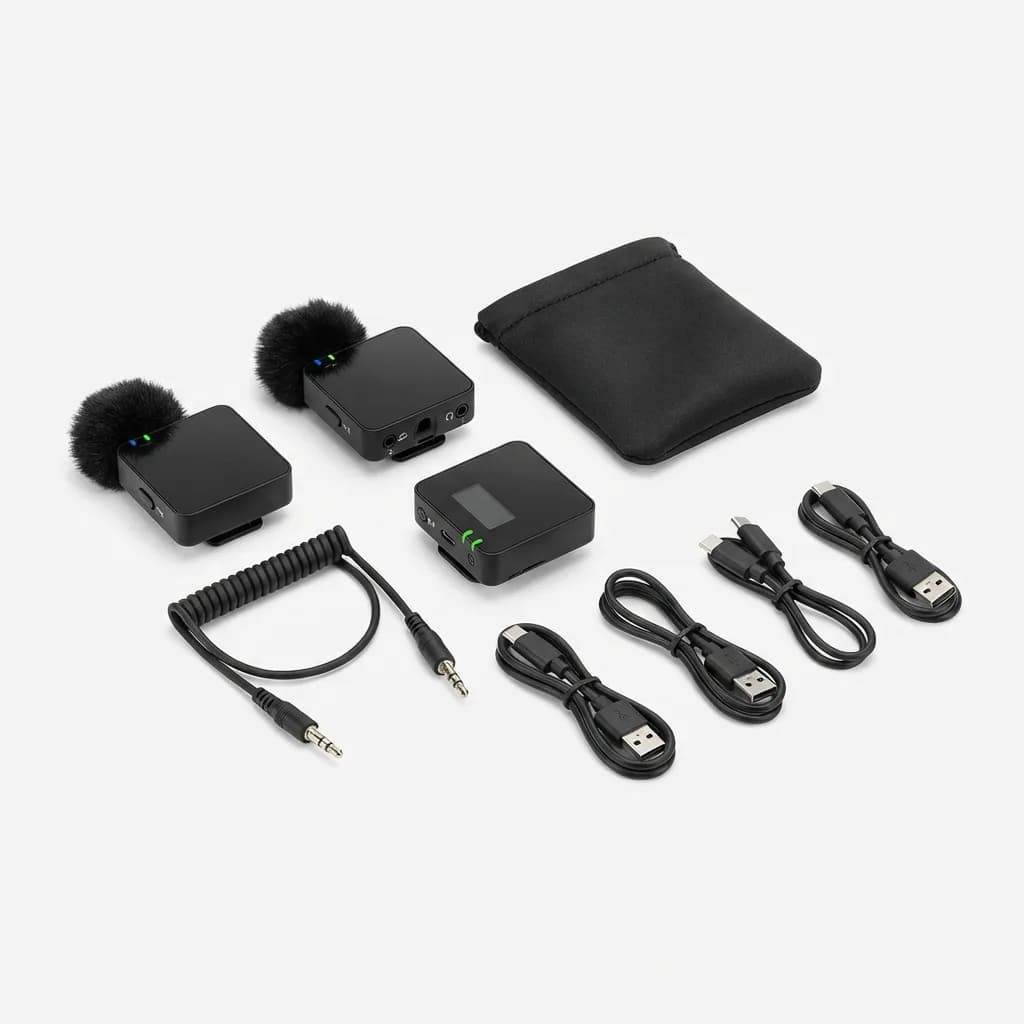
Rode Wireless Go II
$299
Dual-channel wireless lavalier system with onboard recording backup. 200m range, 7-hour battery, USB-C charging. Records even if connection drops.
The Lighting Setup That Makes Cheap Cameras Look Expensive
Lighting transforms mediocre cameras into professional-looking setups. The same camera in a dim room looks like security footage. Add two LED panels and suddenly you're shooting a Netflix documentary. It's not magic - it's just eliminating shadows and giving the sensor enough light to do its job.
Ring lights are popular because they're simple, but they create a distinct circular reflection in your eyes that screams "influencer setup." They work fine for beauty content and product close-ups where you want that signature look. For everything else, rectangular LED panels give you more natural results.
The Elgato Key Light Air is the easiest lighting upgrade. It's WiFi-controlled from your phone, adjusts color temperature from warm to cool, and mounts on a standard desk clamp. Most LED panels require fiddling with physical buttons to change brightness. The Elgato lets you fine-tune from your desk without standing up.
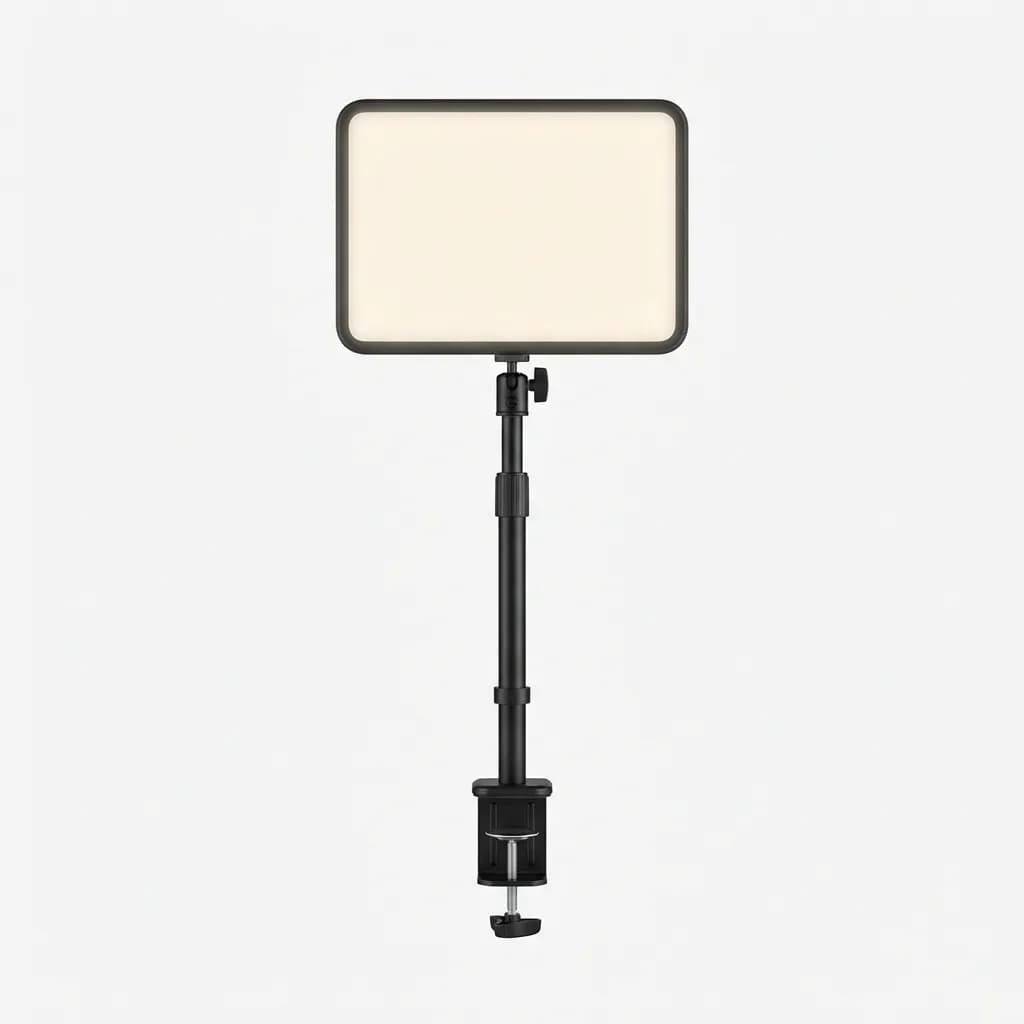
Elgato Key Light Air
$130
WiFi-controlled LED panel with 1400 lumens output. Adjustable color temperature 2900K-7000K via smartphone app. Desk clamp mount included.
Two-light setups look better than one. Your key light (the main light) goes 45 degrees to one side of the camera. The fill light (slightly dimmer) goes on the opposite side to soften shadows. This creates dimension instead of the flat, washed-out look you get from a single front-facing light.
Budget option: the Neewer 660 LED panel costs $70 and puts out comparable brightness to lights costing twice as much. It includes a diffuser to soften harsh shadows and runs on AC power or Sony NP-F batteries. The controls are manual (physical buttons, not WiFi), but at half the price of the Elgato, you can buy two and still save money.

Neewer 660 LED Video Light Panel
$70
Dimmable bi-color LED panel with 660 LEDs, 3200K-5600K temperature range. Includes diffuser, barn doors, and AC adapter. Also works with NP-F batteries.
What Camera Do You Actually Need?
Start with your phone. Seriously. The iPhone 13 and newer shoot 4K video that's sharper than most webcams and entry-level cameras. The Samsung Galaxy S21 and up do the same. Phone cameras struggle in low light and can't zoom much, but if you're shooting talking-head content at a desk, those limitations don't matter.
The problem with phones is positioning and control. You need a tripod mount, you can't easily see yourself while recording, and most don't have clean HDMI output for streaming. That's where dedicated cameras make sense.
Webcams are the fastest solution for streaming and Zoom calls. The Logitech C920 has been the standard since 2012 because it just works - plug it in, Windows recognizes it instantly, and you're live in 1080p. It's not exciting. It doesn't shoot 4K. But it's reliable and costs less than a single dinner out.
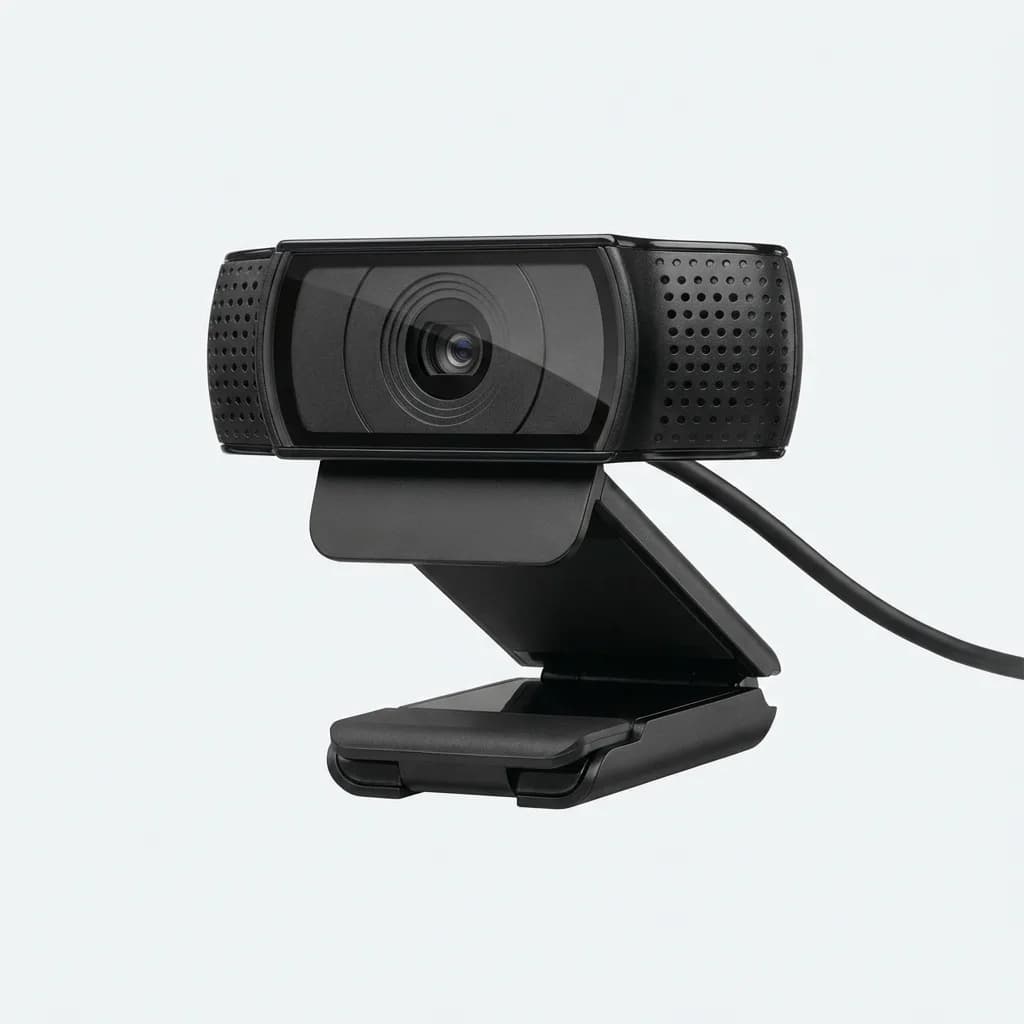
Logitech C920 HD Pro Webcam
$70
1080p webcam with autofocus and built-in stereo mics. USB plug-and-play, works with all major streaming platforms. Clip mount fits most monitors.
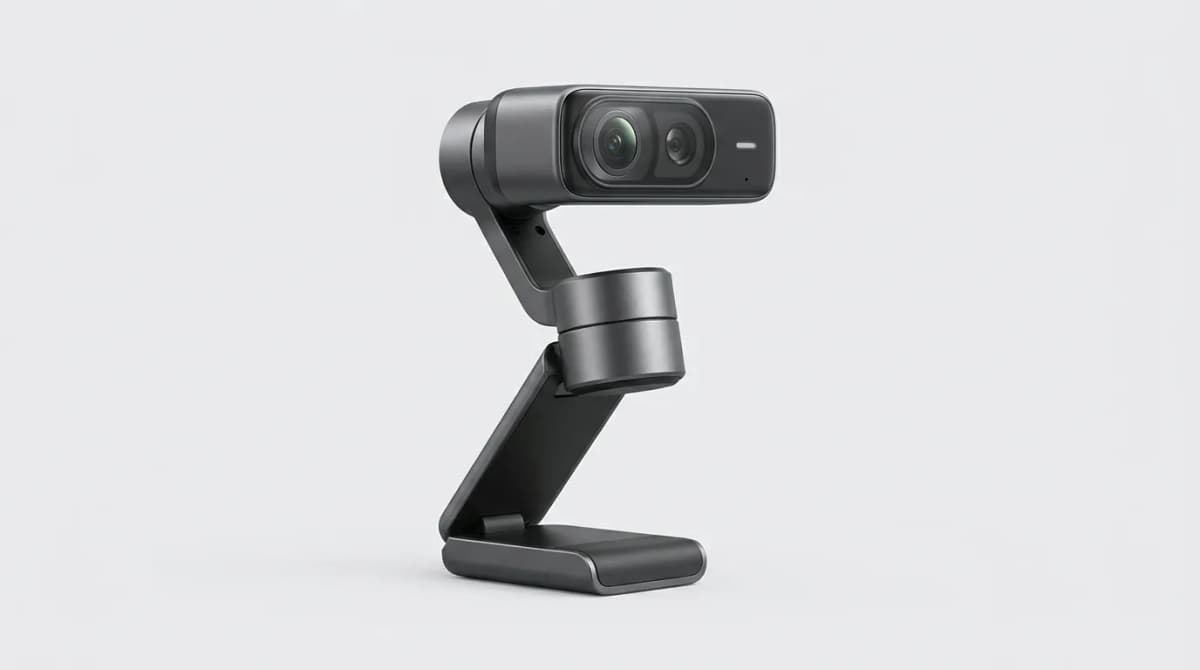
If you want the webcam-easy setup but with better image quality, the Elgato Facecam does 1080p at 60fps with a Sony sensor that handles low light better than the Logitech. It has no built-in mic (which is fine - you're using a dedicated mic anyway) and no autofocus (also fine - set it once and forget it). The image is noticeably cleaner, especially in dim rooms.
For recorded content where you're editing later, a mirrorless camera gives you flexibility the others can't match. The Sony ZV-E10 is designed specifically for vloggers and content creators. It has a flip-out screen so you can see yourself, product showcase mode that auto-focuses on items you hold up, and background blur that makes cheap rooms look like studios.
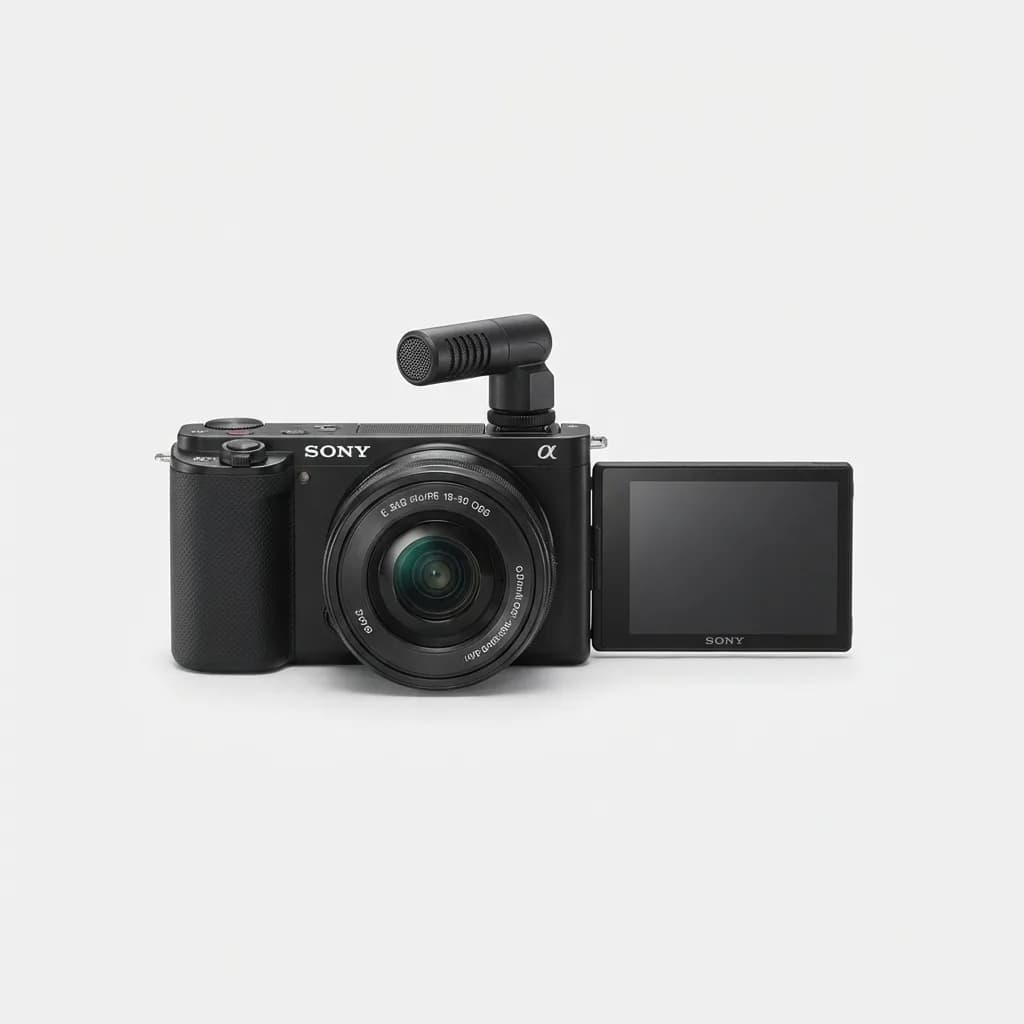
Sony ZV-E10 Mirrorless Camera
$698
APS-C vlogging camera with flip-out screen, product showcase autofocus, and background defocus button. Shoots 4K video, takes interchangeable lenses.
The catch: the kit lens (16-50mm) is mediocre. You'll eventually want a faster lens like the Sigma 16mm f/1.4 for better low-light performance and shallower depth of field. That's another $400. Factor that into your budget if you go the mirrorless route.
Building Your Budget Tier Setup
If you have $300 to spend, this combo works: Audio-Technica ATR2100x-USB ($79), Neewer 660 LED panel ($70), Logitech C920 webcam ($70), and a $30 adjustable desk arm for the light. Mount your phone on a $15 tripod if you want a secondary angle for B-roll. That's $264 total and it'll produce cleaner content than most channels with 50,000 subscribers.
The single biggest mistake is buying mid-tier everything instead of high-tier priority items. A $200 camera with the built-in mic sounds worse than a $70 webcam with a $130 dedicated microphone. Allocate your budget to audio first, lighting second, camera last.
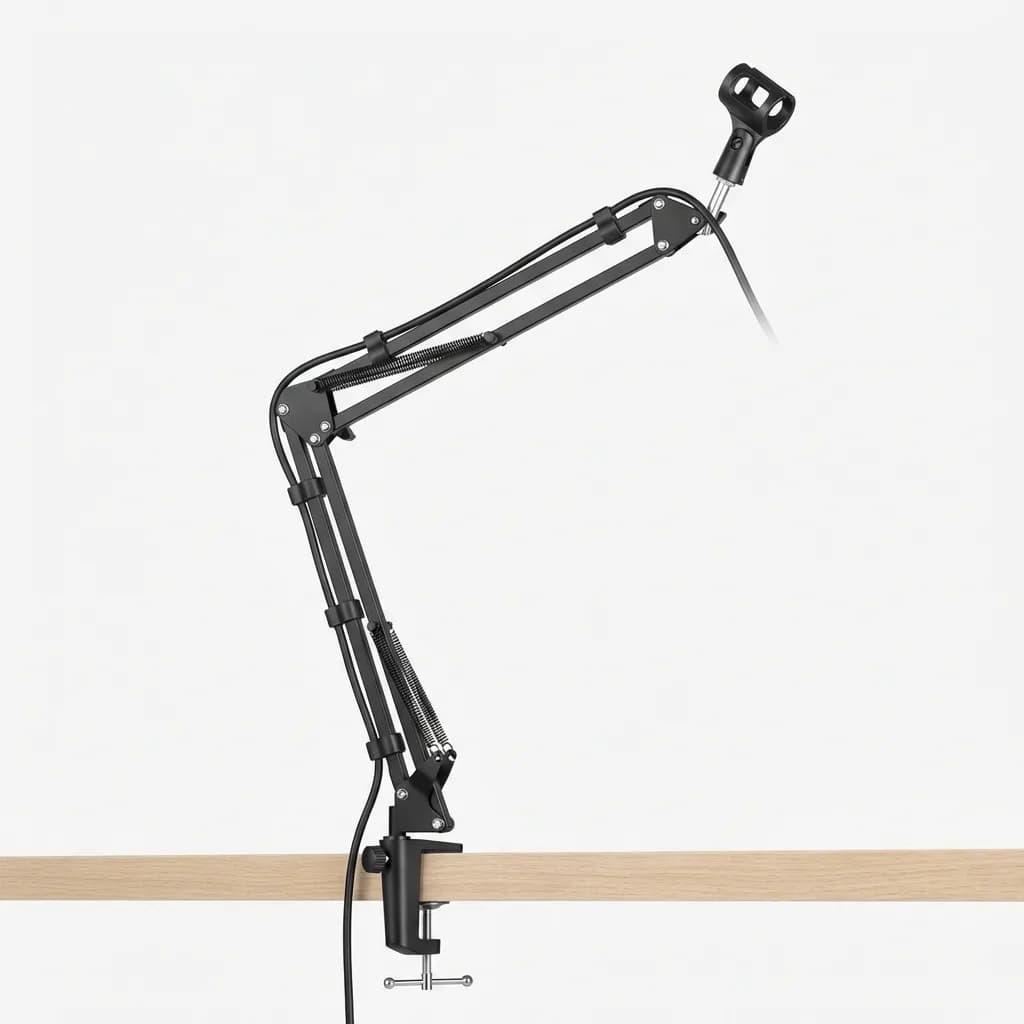
Neewer Desktop Microphone Stand
$16
Adjustable scissor arm mic stand with desk clamp mount. Supports mics up to 3.5 lbs. Built-in cable management clips.
Common Setup Mistakes That Kill Quality
Room echo is the amateur giveaway. Hard walls and empty rooms bounce sound everywhere, making your voice sound like you're recording in a bathroom. Cheap fix: hang a heavy blanket behind you or record in a room with a couch, curtains, and carpet. Soft materials absorb reflections.
Overhead lighting creates dark eye sockets and harsh shadows under your nose. Turn off the ceiling light and use your LED panels instead. Position them at face height or slightly above, never directly overhead.
Sitting too far from the microphone makes you sound distant and picks up more room noise. Your mouth should be 4-6 inches from a dynamic mic, closer if it's a lavalier clipped to your shirt. Test this: record a sentence at different distances and you'll hear the difference immediately.
Autofocus hunting is when the camera keeps refocusing during recording, making your face go soft and sharp repeatedly. Fix this by switching to manual focus or using face-tracking autofocus (like the Sony ZV-E10 has). If your camera doesn't have reliable autofocus, just set it manually and don't move around much.
When To Upgrade (And What To Upgrade First)
Your first upgrade should be lighting, specifically adding a second light for fill. Going from one light to two has more visual impact than upgrading from a webcam to a mirrorless camera. Two $70 Neewer panels will make your setup look more professional than a single $300 light.
Audio upgrades matter once you're ready to move beyond USB mics. An audio interface like the Focusrite Scarlett Solo ($120) lets you use XLR microphones with better preamps and more control. Pair it with a Shure SM7B ($400) and you've got radio-quality sound. But that's a $500+ jump. Make sure your content justifies it first.
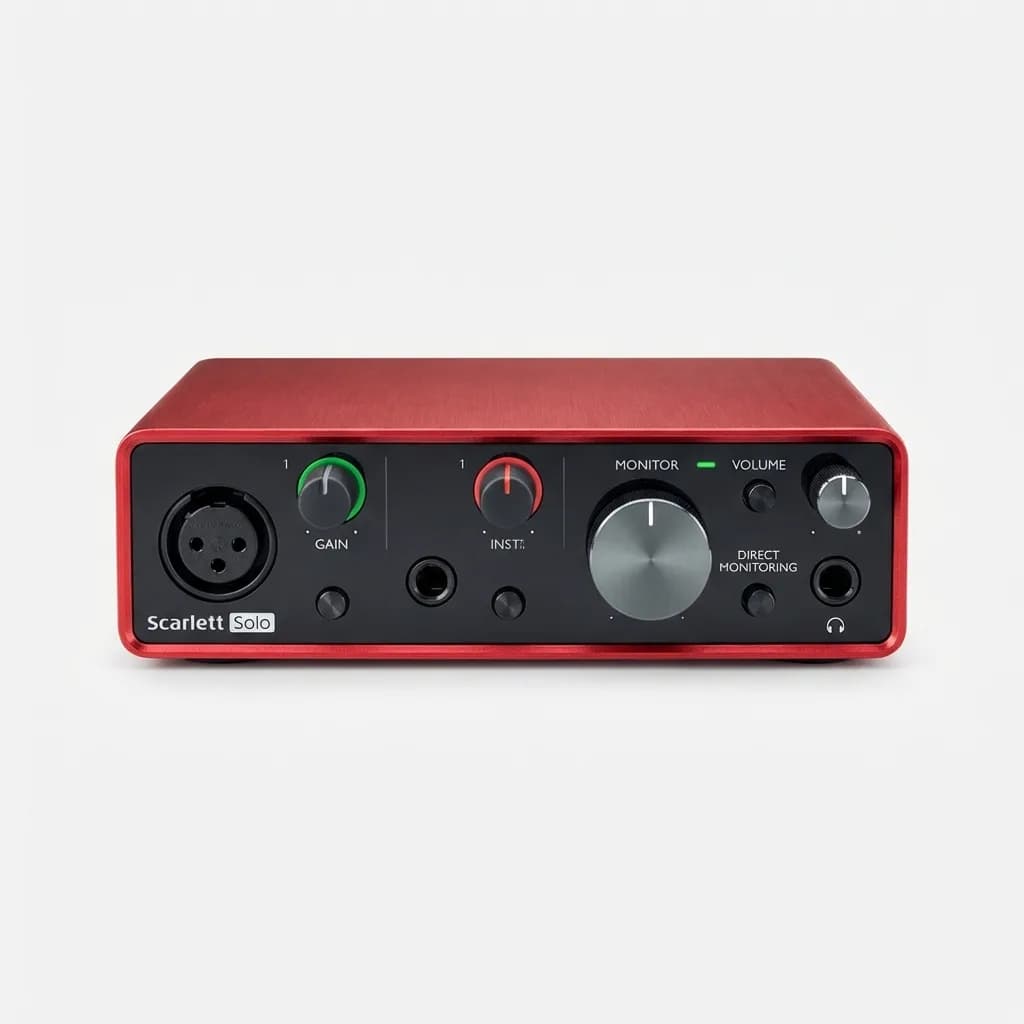
Focusrite Scarlett Solo Audio Interface
$120
USB audio interface with single XLR input and high-quality preamp. 24-bit/192kHz recording, direct monitoring, bus powered. Works with all DAWs.
Camera upgrades make sense when you're limited by what you have. If you're shooting outdoor content and your webcam can't handle it, upgrade to a mirrorless camera. If you're doing product reviews and need macro focus, get a camera with better close-up capabilities. Don't upgrade just because you think you should - upgrade when you hit a specific limitation.
The Reality Check On Gear
The best content creators on YouTube started with terrible equipment and upgraded as they grew. Mr. Beast's first videos were shot on a cheap camera with awful lighting. Peter McKinnon's early vlogs look rough compared to his current production. They succeeded because the content was valuable, not because the gear was expensive.
Your first 50 videos will be bad regardless of equipment. That's not pessimism - it's just the learning curve. You need reps to figure out pacing, scripting, editing, and how to talk naturally to a camera. Expensive gear won't shortcut that process.
Start with the basics that eliminate obvious problems: a microphone that captures clean audio, a light that shows your face clearly, and a camera that shoots in focus. Everything else is optimization. Get the fundamentals right, publish consistently, and upgrade when your current gear becomes the limitation instead of your skills.
The Weekly Dispatch
Enjoying this article?
Subscribe and get our best gear picks delivered every Sunday morning.
Related Stories

How to Record Better Audio on the Go
Master mic placement, defeat wind noise, and streamline your mobile recording workflow with gear and techniques that actually work in the field.
Insta360 Link 2 Pro Review: Is It Worth It
The Insta360 Link 2 Pro brings gimbal stabilization and AI tracking to your desk. We tested it for three weeks to see if the premium features justify the cost.

Best 4K Webcam for Working from Home 2026
Compare the top 4K webcams tested for remote work, from auto-tracking models to low-light specialists. Find your match based on actual desk setups.