ND Filters Explained for Beginners
Learn how ND filters control light, what the stop numbers mean, and which filter strength you actually need for photography and video work.
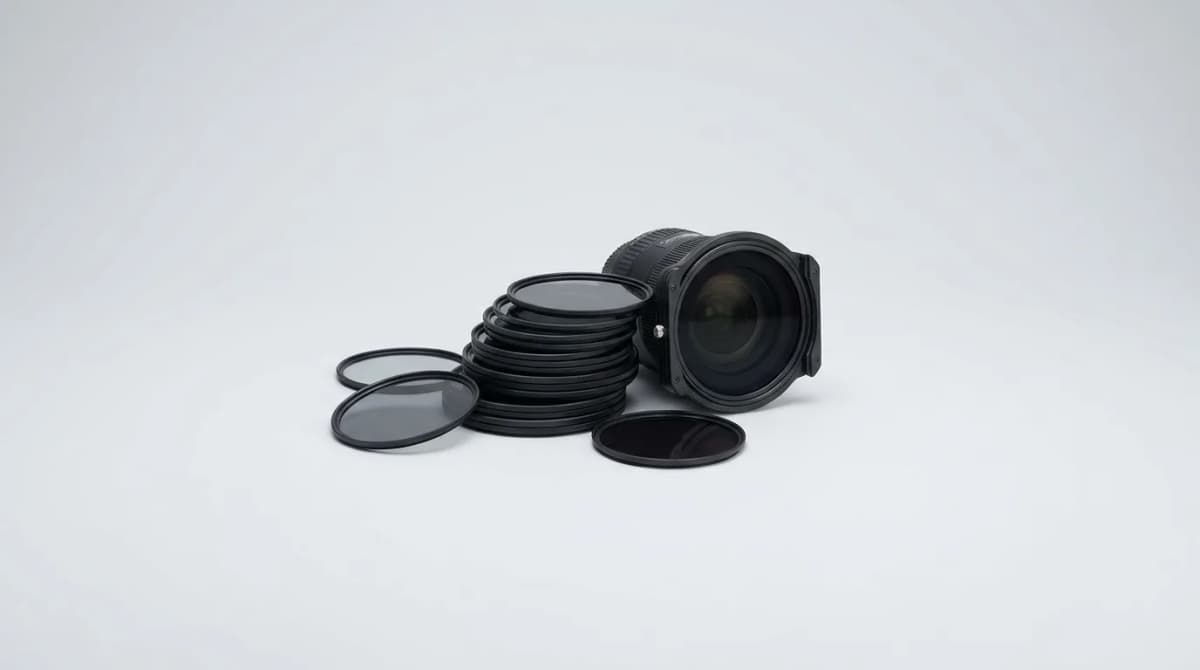
You're shooting outside on a bright afternoon and your footage looks jittery, or your photo's sky is blown out white. That's a light problem, and an ND filter solves it by reducing the amount of light hitting your sensor without changing colors. Think of it like sunglasses for your lens.
The confusion starts when you see labels like ND8, ND64, ND1000, or terms like "3-stop" and "10-stop." It's not complicated once you understand what those numbers represent, and picking your first filter gets easier when you know what you'll actually shoot.
What ND filters actually do
An ND (neutral density) filter is dark glass or resin that screws onto the front of your lens. It blocks light evenly across the entire frame. This lets you use slower shutter speeds or wider apertures in bright conditions without overexposing your image.
For video, this matters because you want to shoot at 1/50th or 1/60th shutter speed to get natural motion blur. On a sunny day, that shutter speed with a wide aperture will overexpose your shot. Closing down to f/16 fixes exposure but gives you ugly depth of field. An ND filter lets you keep f/2.8 and proper shutter speed while controlling brightness.
For photography, ND filters enable long exposures in daylight. You can blur waterfalls, smooth out ocean waves, or make crowds disappear from busy streets by shooting 10, 30, or 60-second exposures in the middle of the day.
The filter doesn't change white balance, color saturation, or contrast. It just reduces the total amount of light. Cheap filters will add color casts (usually magenta or green), which is why filter quality matters.
Understanding stops and ND numbers
Stops measure light reduction in photography. Each stop cuts light in half. A 1-stop ND filter reduces light by 50%. A 2-stop filter reduces it by 75%. A 3-stop filter blocks 87.5% of incoming light.
The common ND numbering system uses multiples: ND2 is 1 stop, ND4 is 2 stops, ND8 is 3 stops, ND16 is 4 stops, ND32 is 5 stops, ND64 is 6 stops, ND128 is 7 stops, ND256 is 8 stops, ND512 is 9 stops, ND1000 is 10 stops.
That ND number represents the filter factor, which is 2 raised to the power of the stop count. ND8 means you need 8 times more light to get the same exposure, which equals 3 stops (2 x 2 x 2 = 8).
Some brands use optical density instead: ND 0.3 is 1 stop, ND 0.6 is 2 stops, ND 0.9 is 3 stops. Just multiply the decimal by 10 and divide by 3 to get stops. It's unnecessarily complicated, but that's the filter industry for you.
Variable ND filters let you rotate between strengths, typically 2-5 stops (ND4-ND32) or 6-9 stops (ND64-ND512). They're convenient but add potential image quality issues like cross-polarization at extreme settings.
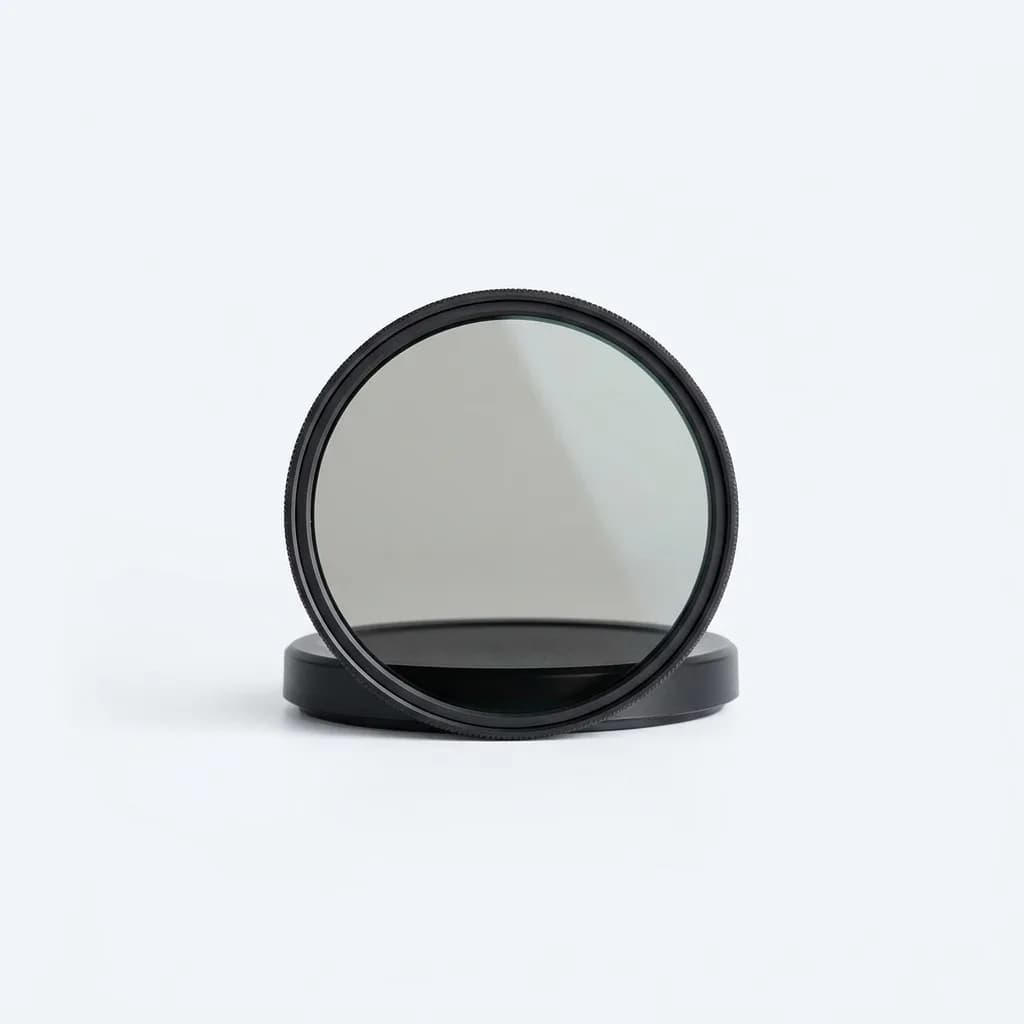
K&F Concept Variable ND2-ND32 Filter
$40-80
2-5 stop variable ND with 28-layer coating, slim frame to reduce vignetting, and no color cast in the mid-range. Solid everyday filter for run-and-gun video.
Which ND strength you need for video
For video shooters, a 3-6 stop ND covers most outdoor situations. Start with an ND8 (3 stops) for overcast days or golden hour, and keep an ND64 (6 stops) for full sun at midday.
If you're shooting at f/2.8 and 1/50 shutter speed, an ND64 lets you expose correctly at ISO 100 in bright daylight. An ND8 would still overexpose in full sun, and an ND1000 would be too dark unless you're shooting directly into the sun.
A variable ND that goes from ND2-ND32 (1-5 stops) handles most conditions. You adjust on the fly without swapping filters. The downside is image degradation: cheap variable NDs create an X-pattern artifact when rotated to maximum darkness, and even good ones soften the image slightly compared to fixed-strength filters.
Serious video work benefits from a set of fixed NDs: ND8, ND16, ND32, and ND64. You stack them if needed (ND8 + ND16 = ND128). Fixed filters are sharper and don't introduce artifacts. They're bulkier to carry but deliver better image quality.
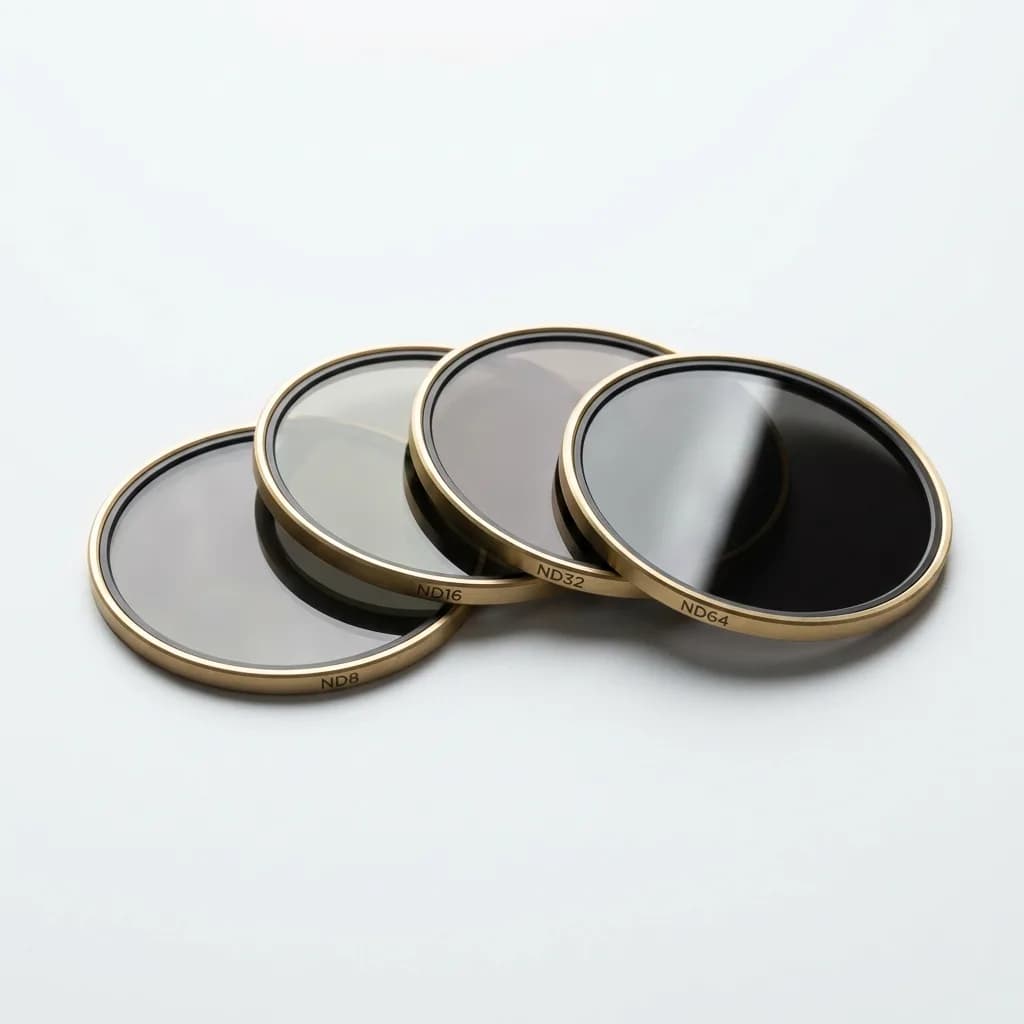
PolarPro QuartzLine ND Filter Set
$150-200
Fixed ND8, ND16, ND32, and ND64 filters with multi-coated German Schott glass. Each filter is 1mm thin to prevent vignetting on wide lenses.
For drone work, DJI and other manufacturers make ND filter sets specifically for their gimbals. These are lighter and designed to maintain gimbal balance. Standard screw-on filters are too heavy for most camera drones.
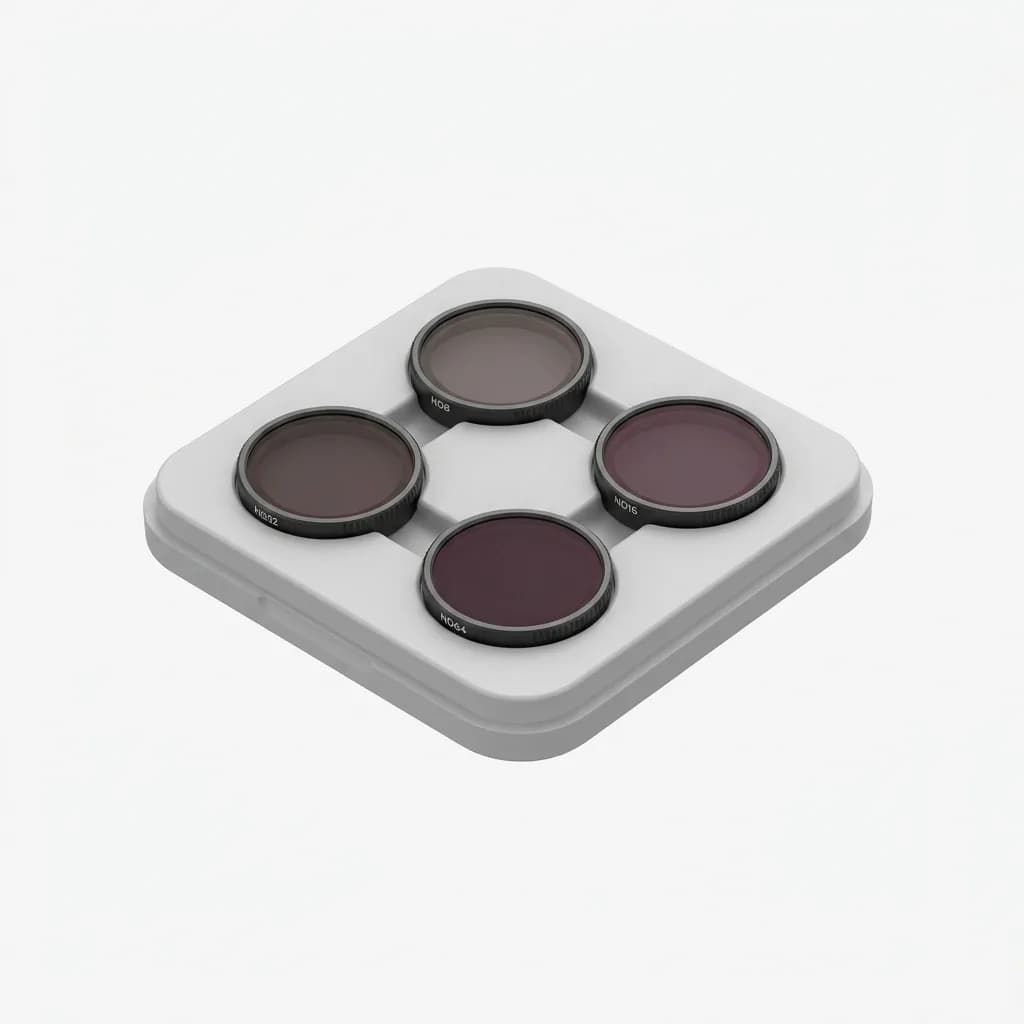
PolarPro Cinema Series ND Filter Set for DJI
$40-60
ND8, ND16, ND32, and ND64 filters designed for DJI Mini and Air series drones. Ultra-lightweight with press-fit mounting and color-neutral glass.
Which ND strength you need for photography
Long exposure photography requires much stronger filters. A 10-stop ND (ND1000) turns a 1/250 second exposure into a 4-second exposure. That's enough to blur moving water or soften clouds in the sky.
The most popular long-exposure filter is the 10-stop ND1000. It's strong enough to shoot 10-30 second exposures in daylight without overexposing. You can capture smooth water, streaking clouds, and motion blur during golden hour or midday.
A 6-stop ND (ND64) is the middle ground. It's useful for slightly longer exposures (1-2 seconds) when you want some motion blur but not total smoothness. It's also light enough for video work, making it a versatile option if you only want one filter.
Extreme long exposures need 15-stop or 16-stop filters. These are for 1-2 minute exposures in bright sun, creating surreal images where moving elements disappear entirely. Water turns glass-smooth, and crowds vanish from busy locations. They're niche tools, not everyday filters.
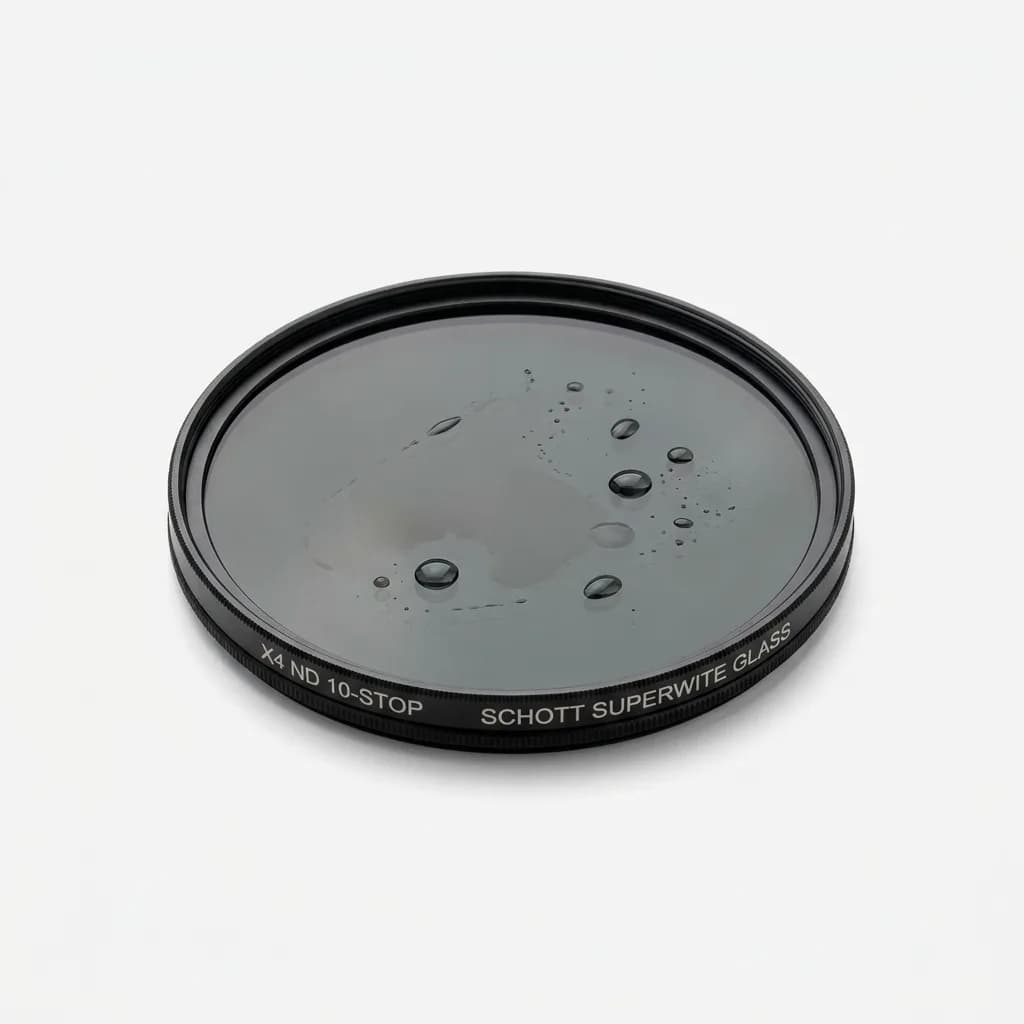
Breakthrough Photography X4 ND 10-Stop Filter
$100-150
ND1000 filter with 99.7% light transmission, multi-resistant coating that sheds water and oil, and color-neutral Schott Superwite glass. Available in 49mm-82mm sizes.
Square filters offer flexibility for landscape photographers. You slide them into a holder attached to your lens, and you can stack multiple filters (ND, graduated ND, polarizer) without vignetting. They're bulkier than screw-on circular filters but let you use one filter set across lenses with different thread sizes.
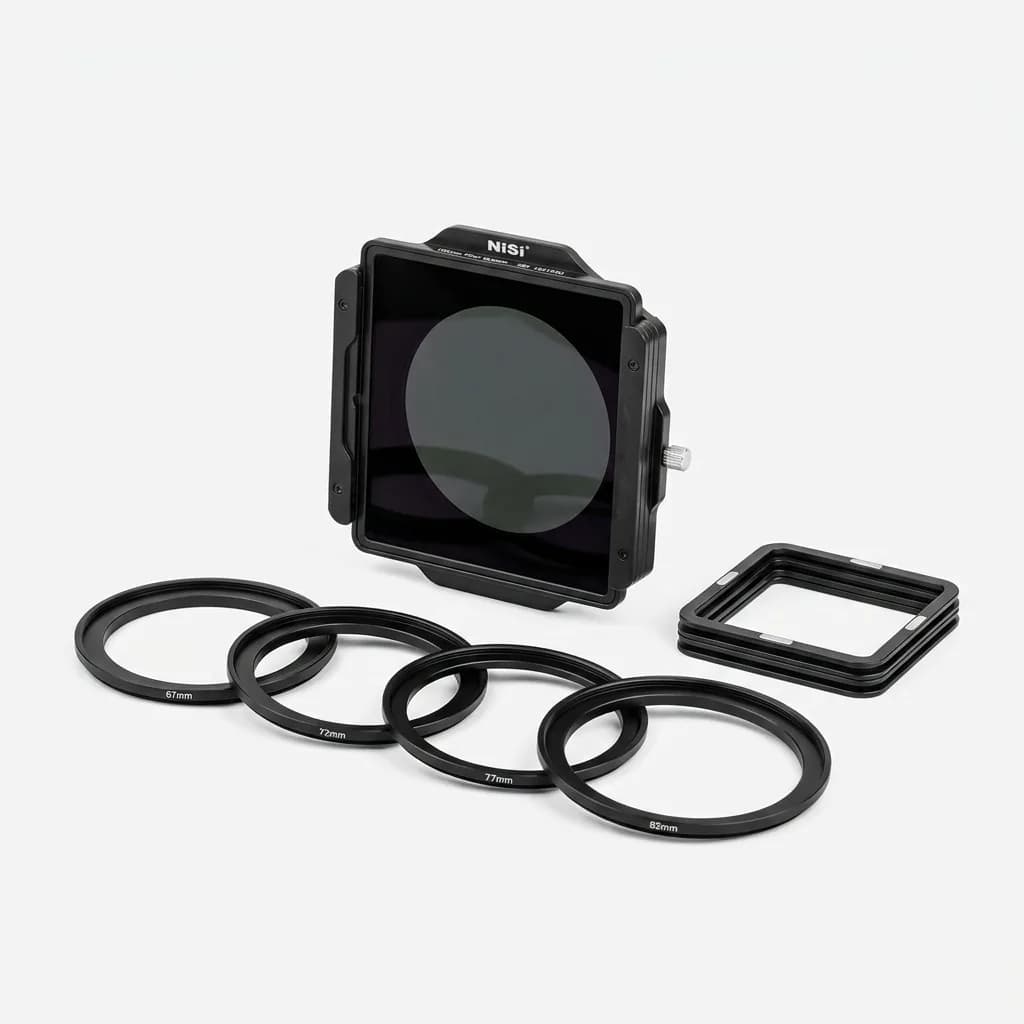
NiSi 100mm Filter System with ND1000
$150-200
Professional square filter holder with 100mm ND1000 filter, adapter rings for 67-82mm lenses, and magnetic frame design. Nano coating resists fingerprints and moisture.
Common mistakes with ND filters
The biggest mistake is using a cheap ND filter and wondering why your images look soft or color-shifted. Low-quality filters add magenta or cyan casts that require correction in post. They also reduce sharpness, especially in the corners. Spending $20 on a filter for a $1,500 lens makes no sense.
Another issue is vignetting with wide-angle lenses. Thick filter frames block light at the edges of the frame, creating dark corners. Slim or ultra-slim ND filters solve this. If you shoot wider than 24mm, check the filter's frame thickness before buying.
Stacking too many filters causes problems. Each piece of glass degrades image quality slightly and increases the chance of reflections or flare. Stacking an ND with a UV filter and a polarizer will soften your image and introduce artifacts. Use the minimum number of filters necessary.
Not using a lens hood with an ND filter invites flare. The dark filter doesn't stop stray light from bouncing around inside the filter threads. A hood blocks side light and improves contrast, especially with strong NDs where longer exposures make flare more likely.
With very strong NDs (10+ stops), autofocus won't work. The camera can't see through the filter to find focus. Compose and focus first, then attach the ND filter. Switch to manual focus so the camera doesn't hunt when you press the shutter. Some photographers tape the focus ring in place to prevent accidental shifts.
Which ND filter to buy first
For video shooters, start with a variable ND that covers 2-5 stops (ND4-ND32) or 2-6 stops (ND4-ND64). This handles most outdoor lighting without swapping filters mid-shoot. Spend at least $50 to avoid image quality problems.
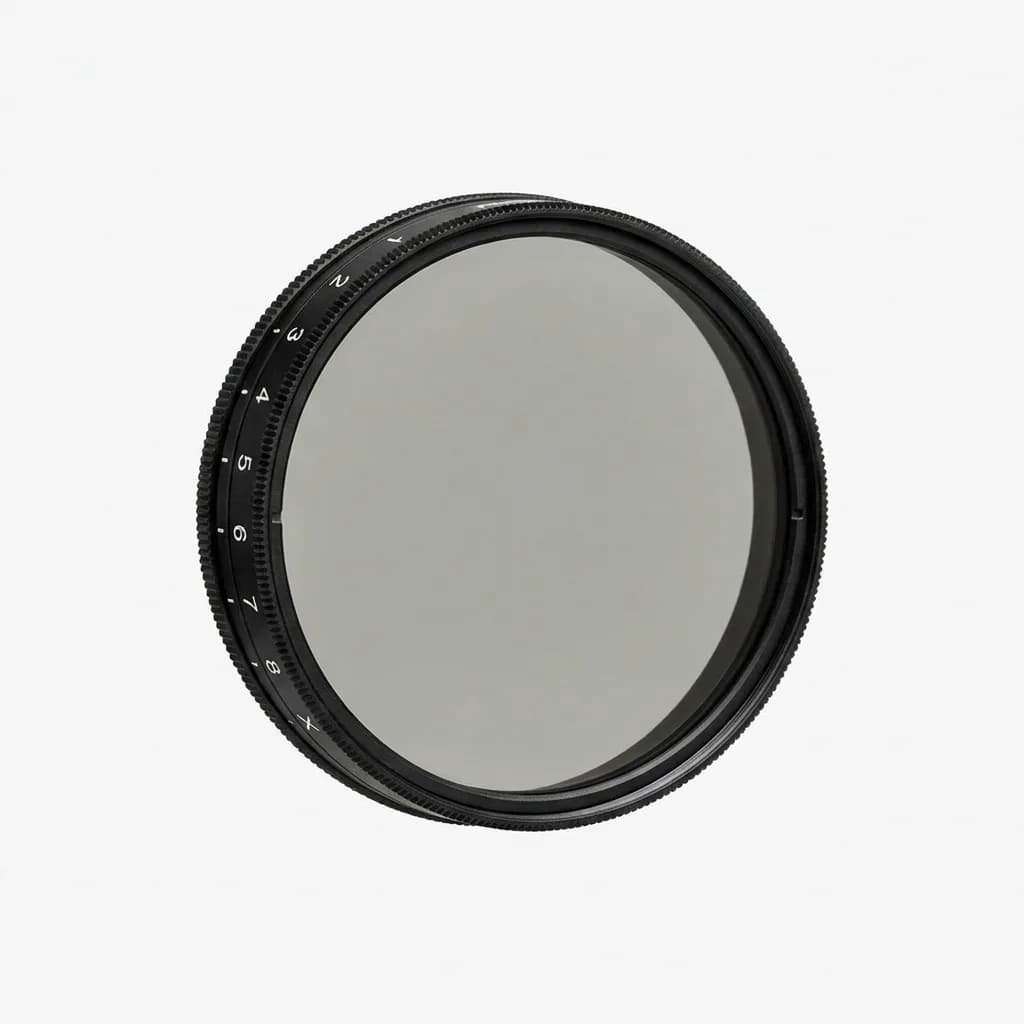
Tiffen Variable ND Filter
$80-120
2-8 stop variable ND (ND4-ND256) with ColorCore glass for neutral color. Wider range than most variables but shows cross-polarization at max density. Good for documentary and event work.
For photography, buy a 10-stop ND (ND1000) if long exposures interest you, or a 6-stop ND (ND64) if you want flexibility for both moderate motion blur and occasional video work. Fixed-strength filters are sharper than variables and don't create artifacts.
Match the filter size to your most-used lens. If you have a 24-70mm f/2.8 with a 82mm filter thread, buy an 82mm ND filter. You can use step-up rings to attach it to smaller lenses (say, a 77mm lens), but you can't step down from a smaller filter to a larger lens without vignetting.
Buy from known brands: PolarPro, Breakthrough Photography, NiSi, Tiffen, Hoya, B+W, or K&F Concept. Read reviews and check for color cast complaints. A good ND filter should be invisible in your final image except for the exposure reduction.
Getting exposure right with ND filters
Calculating exposure with an ND filter is straightforward once you understand the math. Meter the scene without the filter, note your settings, then add stops equal to the filter strength.
Say your camera meters 1/500 second at f/5.6 and ISO 100. You add a 6-stop ND (ND64). Count six stops slower from 1/500: 1/250, 1/125, 1/60, 1/30, 1/15, 1/8. Your new shutter speed is 1/8 second at the same aperture and ISO.
Smartphones apps like PhotoPills or NDCalc do the math for you. Input your metered exposure and filter strength, and they spit out the adjusted settings. This is faster than mental math when you're working with 10-stop filters.
With very strong NDs, your camera's meter may not work through the filter. Meter first, calculate your new settings, attach the filter, and shoot in manual mode. Use the camera's LCD or electronic viewfinder to check exposure after the shot, then adjust if needed.
Reciprocity failure used to complicate long exposures on film, but digital sensors don't have this problem. A calculated 30-second exposure will be accurate on a modern camera. The only variable is neutral density filter quality, which is why cheap filters cause inconsistent results.
ND filters stop being confusing once you connect the stop numbers to real shooting situations. A 3-6 stop filter handles video and daytime motion blur. A 10-stop filter enables long exposures in bright light. A variable ND is convenient; fixed filters are sharper. Buy quality glass, match it to your lens size, and meter before attaching strong filters. The rest is just pointing your camera at something worth shooting.
The Weekly Dispatch
Enjoying this article?
Subscribe and get our best gear picks delivered every Sunday morning.
Related Stories
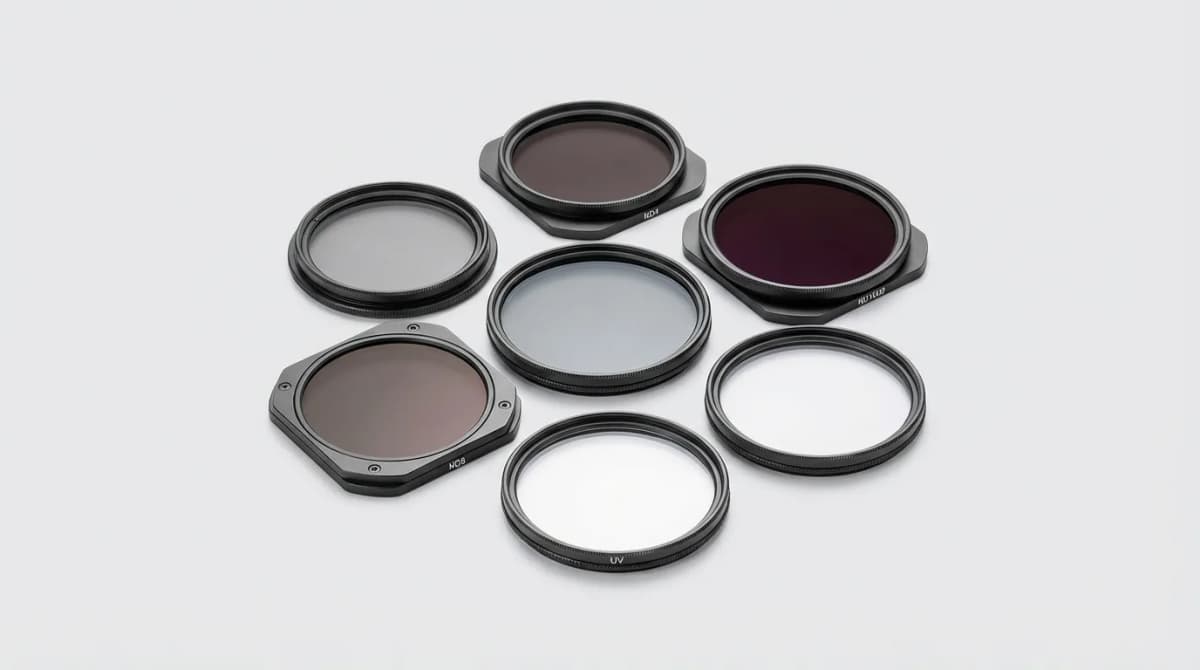
Best Lens Filters for Travel Photography
Skip the UV filter debate. These are the lens filters that actually matter for travel photography - polarizers, ND filters, and when each one earns its place in your bag.

Best Travel Photography Kit Under $500
Build a complete travel photography kit for under $500. Real-world camera body, lens, and accessory recommendations that prioritize portability without sacrificing image quality.
Small Prime Lenses for Travel: Why They Beat Zooms
Small prime lenses deliver sharper images and better low-light performance than zoom lenses while saving critical weight in your travel kit.