How to Create a No-Stress Airport Kit
Smart packing starts with dividing essentials into organized pouches. Here's how to build an airport kit that eliminates digging and decision fatigue.

The difference between a smooth airport experience and a chaotic one often comes down to 15 seconds. That's how long it takes to fish through a carry-on for your charger, dig out a boarding pass, or locate hand sanitizer buried under snacks. Multiply those moments across security lines, gate changes, and boarding, and you've added unnecessary stress to travel.
A proper airport kit solves this by organizing everything into logical categories before you leave home. Not a massive toiletry bag crammed with random items, but a modular system where each pouch serves a specific purpose. When your tech lives in one place, medications in another, and security-ready items stay accessible, you move through airports faster and with less mental load.
The Foundation: Category-Based Pouches
Start by dividing your airport essentials into four clear pouches: Tech, Meds, Snacks, and Plane Essentials. Clear pouches matter because TSA agents can see contents without opening them, and you can identify what you need at a glance. Label each one with a luggage tag or permanent marker.
Your Tech pouch holds charging cables, a portable battery, USB wall adapter, and a Bluetooth audio transmitter. The Meds pouch contains pain relievers, allergy medication, stomach remedies, and prescription pills in a compact organizer instead of bulky pharmacy bottles. Snacks stay separate so crumbs don't invade your electronics. Plane Essentials include masks, hand sanitizer, earplugs, eye drops, lip balm, and a pen for customs forms.
This separation prevents the classic problem of dumping everything into one bag and creating a jumbled mess. When you need your charger mid-flight, you grab the Tech pouch. No excavation required.
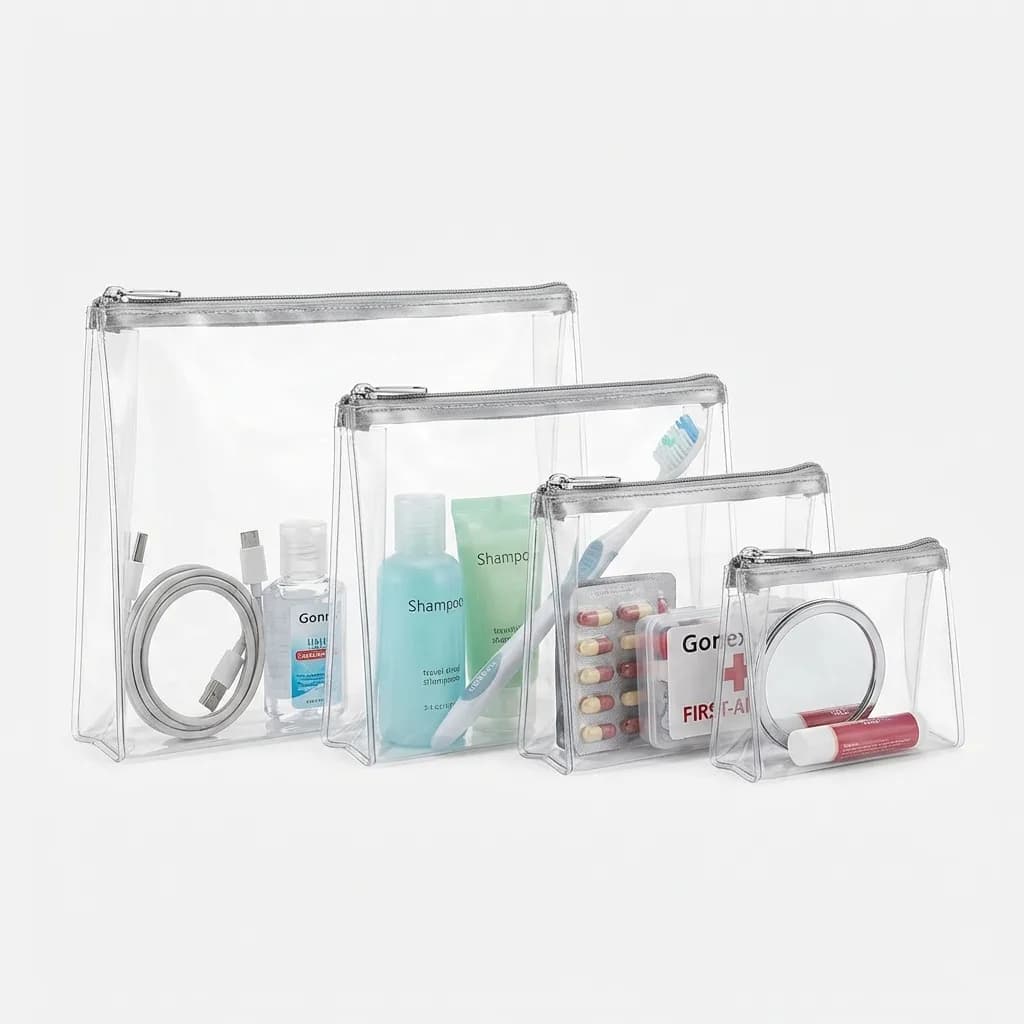
Gonex Clear TSA Approved Toiletry Bag 4-Pack
$17
Durable PVC pouches in multiple sizes with smooth zippers. Perfect for categorizing tech, meds, and plane essentials. TSA compliant for liquids.
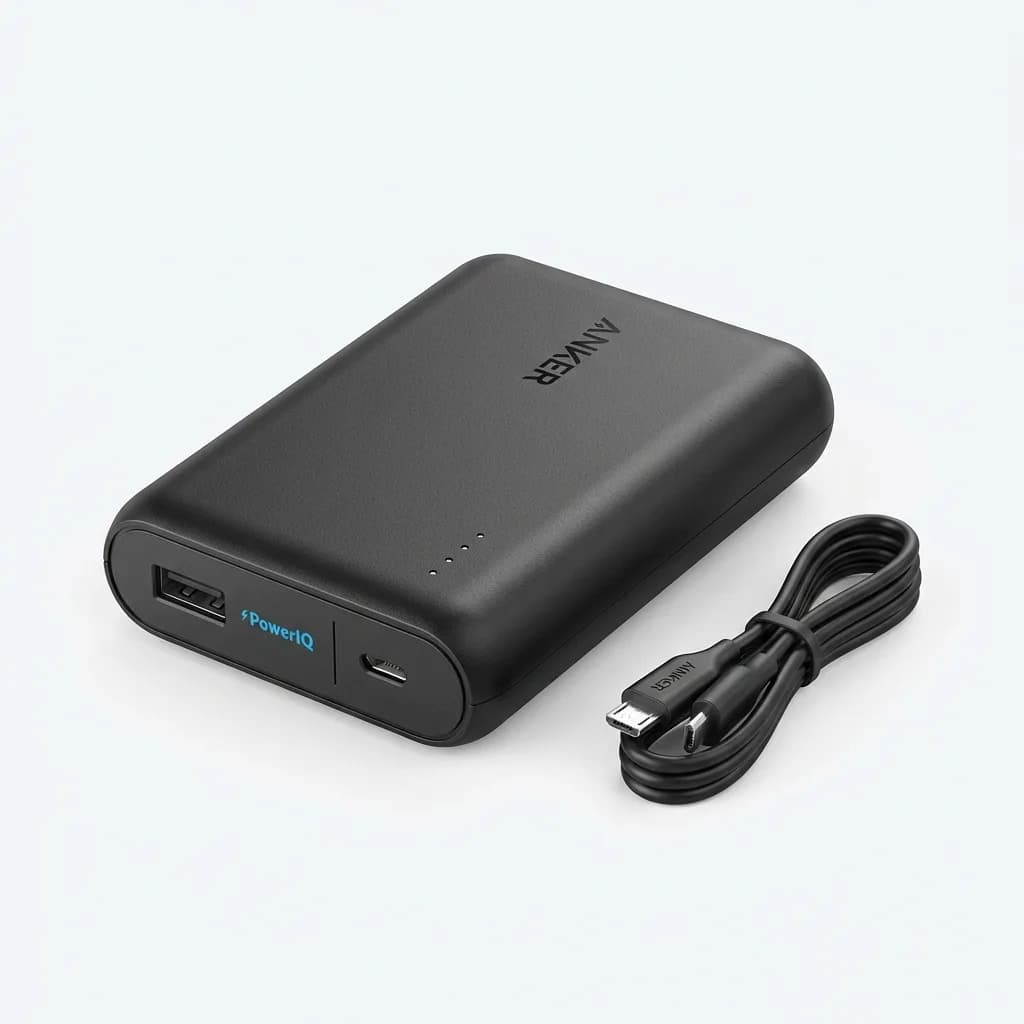
Anker PowerCore 10000mAh Portable Charger
$23
Compact 10000mAh battery with PowerIQ fast charging. Fits in a jacket pocket and recharges most phones twice. Reliable performance for years.
Tech and Connectivity: What Actually Matters
Power banks have become non-negotiable. A 10000mAh battery gives you two full phone charges, enough to handle delays without anxiety. Go higher capacity if you carry a tablet, but remember that airlines restrict batteries over 27000mAh in carry-ons.
Bring the correct cables for every device you own. USB-C to USB-C for modern phones, Lightning for older iPhones, and a short USB-A to micro-USB if you still carry older accessories. Coil them with cable ties or Velcro straps so they don't tangle. Include a dual-port wall adapter so you can charge two devices when you find an outlet at the gate.
The game-changer for frequent travelers is a Bluetooth transmitter like the AirFly Pro. Most airline entertainment systems still use wired headphone jacks, but these adapters let you connect wireless earbuds. No more dealing with cheap airline headphones or carrying a separate wired pair. The AirFly also works in rental cars and hotel gyms.
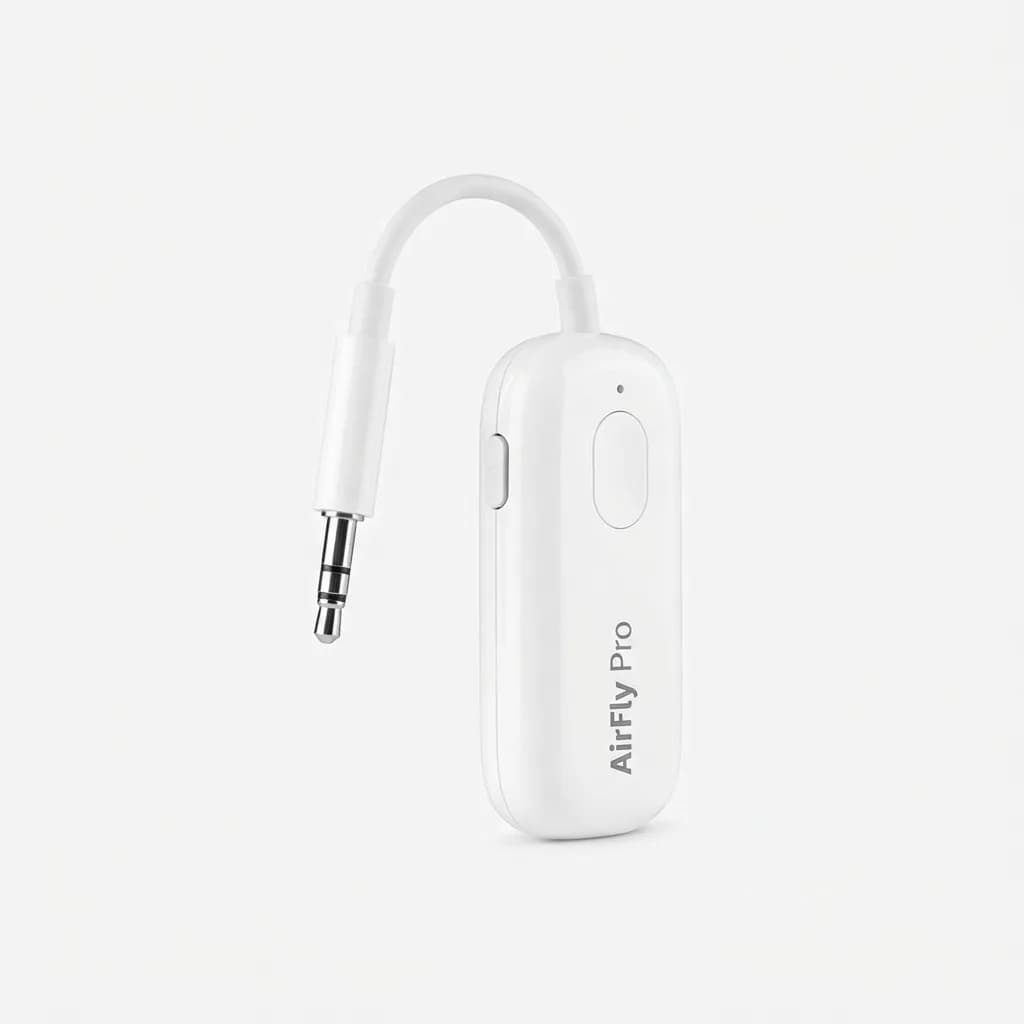
Twelve South AirFly Pro Bluetooth Transmitter
$55
Connects wireless headphones to any 3.5mm jack. Eight-hour battery, dual-device pairing, and works with all Bluetooth headphones. Essential for flights.
Store all charging gear together in your Tech pouch, and keep it easily accessible in your personal item or the top of your backpack. TSA may ask you to remove large batteries during screening, and you'll want quick access during the flight when your phone hits 10%.
Comfort and Health Essentials
Hand sanitizer has graduated from optional to required. Carry a 3.4-ounce TSA-compliant bottle with at least 60% alcohol content. Refill it from a larger bottle at home. Pair it with a small pack of disinfectant wipes for tray tables and armrests.
High-quality masks remain useful even if mandates have lifted. Airplane air is dry and recycled, and a mask helps if you're seated near someone coughing. N95 or KN95 masks provide better filtration than cloth and fold flat in your Plane Essentials pouch.
Earplugs or noise-reducing options like Loop Experience block engine hum and crying babies without completely isolating you from announcements. They're smaller and less signal-sending than over-ear headphones when you want to rest but stay approachable.
Hydrating eye drops counteract the extremely low humidity in airplane cabins. Single-use vials are TSA-friendly and don't require you to carry a full bottle. Toss two or three in your kit and you'll actually use them instead of suffering through dry, scratchy eyes.
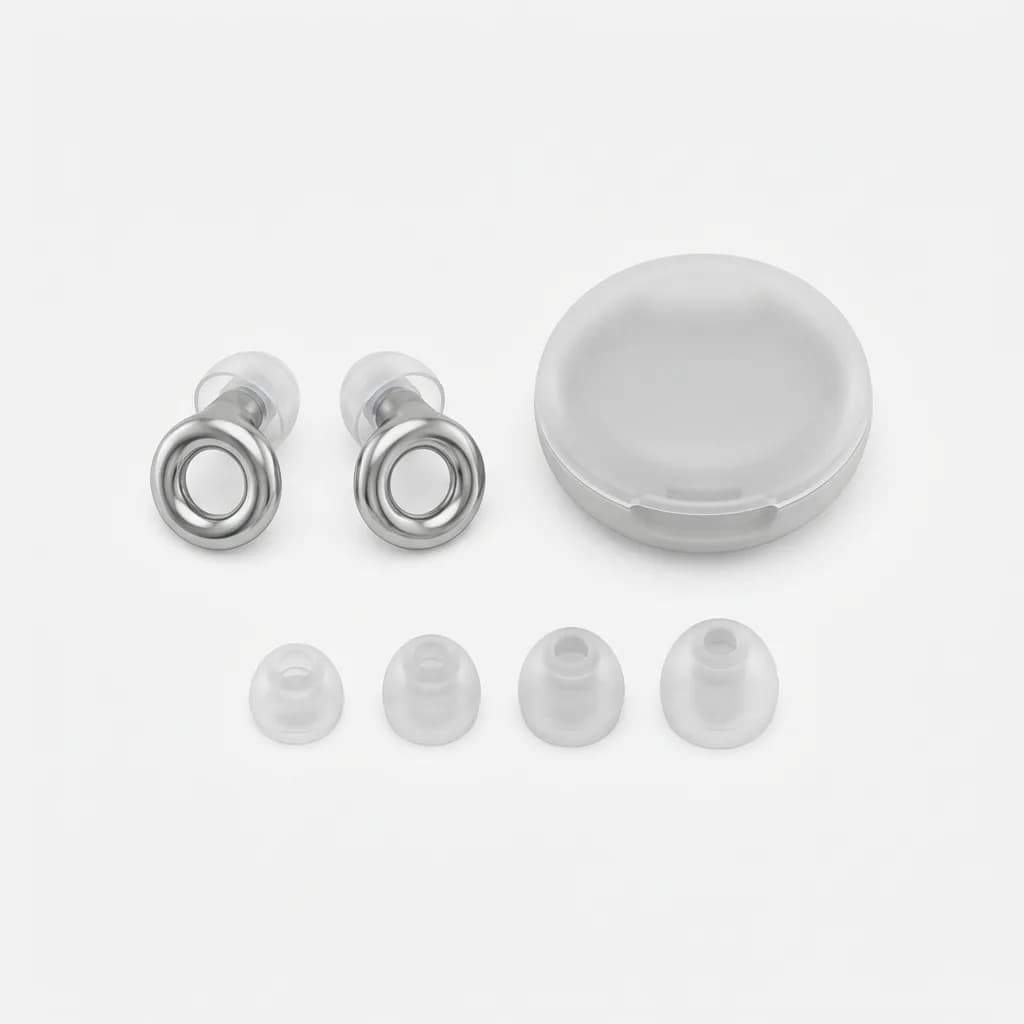
Loop Experience Ear Plugs
$30
Reusable silicone earplugs that reduce noise by 18dB while preserving sound clarity. Comfortable for long flights and come with four tip sizes.

Refresh Plus Lubricant Eye Drops
$18
Preservative-free single-use vials, perfect for dry airplane cabins. 50-count box means you can toss a few in every travel kit.
Medication: Compact and Organized
Ditch the full prescription bottles and pharmacy packaging. Transfer pills to a weekly organizer or a flat pill case with labeled compartments. This saves space and keeps everything visible. For prescriptions, photograph the label with your phone in case you need to show proof.
Include basics: ibuprofen for headaches, antihistamine for allergies, antacids for questionable airport food, and any personal prescriptions. Add motion sickness medication if you're prone to it, and consider melatonin for adjusting to time zones.
Keep the Meds pouch in your personal item, not checked luggage. If your bag gets delayed or lost, you'll still have access to necessary medications. Store it in the same pocket every trip so you build muscle memory.
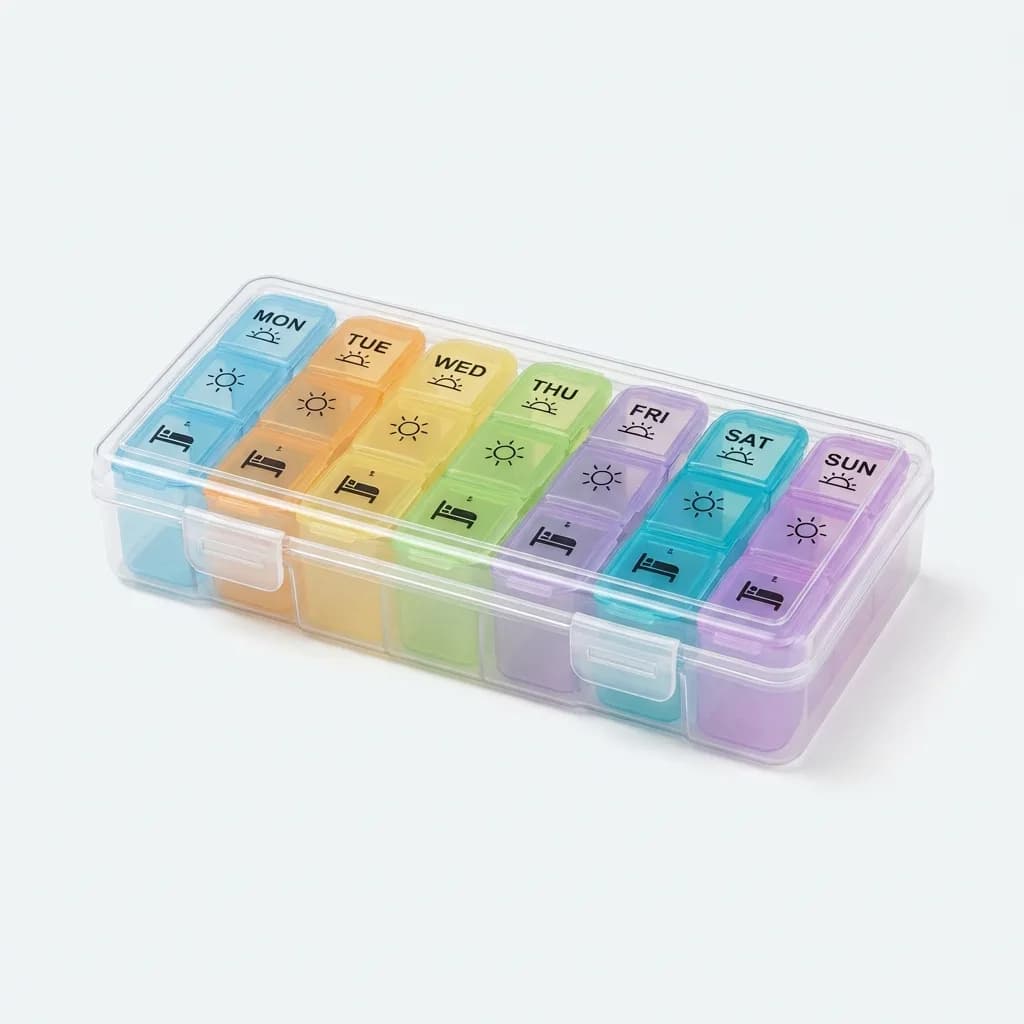
Sukuos Extra Large Pill Organizer
$13
Seven-day medication case with four compartments per day. Secure snap lids prevent spills. Compact enough for carry-ons but holds a week's supply.
The Personal Item Strategy: Immediate Access
Your airport kit lives in your personal item, not your main carry-on. This is the backpack or tote that stays under the seat in front of you, giving you instant access to everything without standing up or opening the overhead bin.
For truly immediate needs like your passport, boarding pass, phone, and credit card, use a belt bag or sling worn across your body. This keeps critical documents on your person during security, boarding, and bathroom breaks. You're never fumbling through bags while juggling coffee and trying to scan a boarding pass.
Choose a sling with at least two compartments: one for documents and one for your phone. RFID blocking is a nice feature but not essential in practice. What matters is quick access and security through crowded terminals.
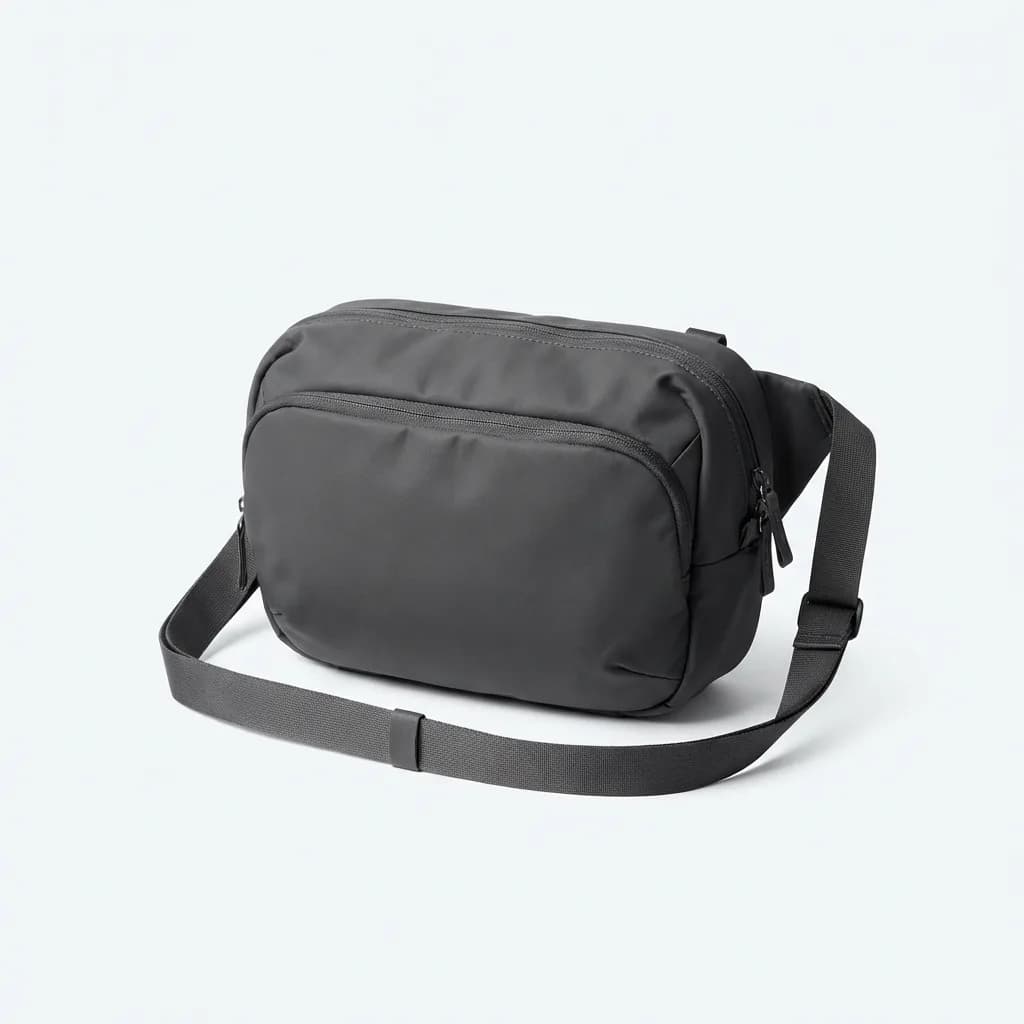
Bellroy Venture Sling Bag
$99
Compact 7-liter sling with RFID protection, water-resistant fabric, and multiple organization pockets. Comfortable cross-body wear for all-day airport navigation.
Pack your personal item in reverse order of need. Items required during the flight go on top: headphones, charger, snacks. Stuff you only need after landing, like a packable jacket or extra mask, goes on the bottom.
Hydration Without the Hassle
Bring an empty collapsible water bottle through security and fill it at a fountain after screening. Staying hydrated makes jet lag less severe and prevents the headaches that come from dry cabin air. Collapsible bottles pack flat when empty, saving space during the trip home.
Look for bottles with wide mouths for easy filling and cleaning. Some airports have bottle filling stations with counters showing how many plastic bottles you've saved, which is satisfying if nothing else.
Avoid bottles with complicated straws or filters for airport use. Simple is better. You want something you can fill quickly, drink from easily, and stash in a side pocket.
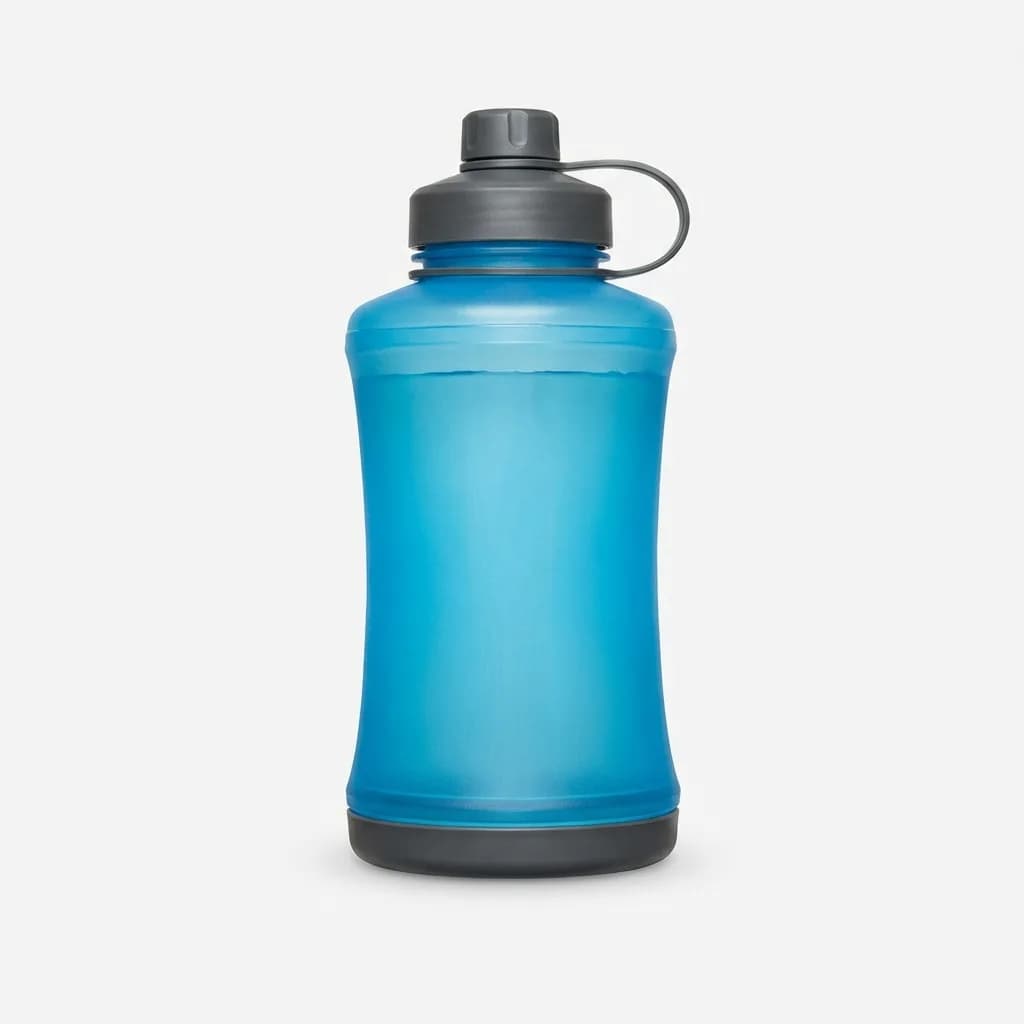
Hydrapak Stash Collapsible Bottle
$18
1-liter flexible bottle that rolls up when empty. BPA-free, leak-proof cap, and fits in small backpack pockets. Weighs just 2.6 ounces.
What About Headphones?
Over-ear noise-canceling headphones belong in your airport kit if you fly more than a few times a year. They block engine noise better than anything else and signal that you're unavailable for conversation. On long flights, comfort matters more than portability, and over-ear designs distribute pressure better than earbuds.
Charge them fully before your trip and pack the cable in your Tech pouch. Most modern headphones last 20-30 hours on a charge, more than enough for even international flights with delays.
Bring earbuds as backup. If your over-ear headphones die or you want something lighter for the airport, having a second option prevents being stuck with nothing.
Security Line Optimization
Arrange your clear pouches so the one containing liquids sits at the top of your personal item. When you reach the TSA checkpoint, pull it out in one motion along with your laptop or tablet. Everything stays organized instead of creating a pile of loose items in bins.
Wear shoes you can slip on and off without untying. Leave belts with large metal buckles at home or pack them in checked luggage. Empty your pockets into your sling bag before you reach the conveyor belt, not while people wait behind you.
Keep your ID and boarding pass accessible but secure. The sling bag works perfectly for this: unzip, grab documents, scan, return them, zip closed. No juggling or setting items on questionable surfaces.
Putting It All Together
Building this kit takes 30 minutes before your first trip, then becomes automatic. You'll refill and repack the same pouches each time, adding or removing items based on trip length and destination. The system stays consistent.
After you return home, restock immediately. Refill your hand sanitizer, replace any medication you used, swap out snacks. Keep the pouches packed in your luggage closet so they're ready for the next departure. This eliminates pre-trip scrambling.
The goal isn't to carry more stuff. It's to carry exactly what you need in a format that makes it instantly accessible. When you can find your charger, locate your medication, and grab a snack without thought, airports become less stressful. You move faster, stay calmer, and arrive in better shape.
Start with the four-pouch system and adjust from there. Some travelers add a fifth pouch for cables and adapters. Others combine Meds and Plane Essentials into one. The framework works because it forces you to think about categories before you pack, preventing the chaos of random pocket stuffing.
Your airport kit won't prevent delays or long security lines. But it will eliminate the small frustrations that compound into major stress. And that difference, repeated over dozens of trips, matters more than any single piece of gear.
The Weekly Dispatch
Enjoying this article?
Subscribe and get our best gear picks delivered every Sunday morning.
Related Stories

EDC for Minimalists Who Travel Weekly
Pack smart for weekly flights without carrying duplicates. A lean EDC system that works at home and on the road with zero compromises.

How to Pack Liquids Without Leaks
Learn the proven techniques and containers that actually prevent liquid leaks in luggage, from bottle selection to double-bag methods tested by frequent travelers.

Best Carry-On Luggage with Laptop Compartment
The best carry-on luggage protects your laptop while keeping it accessible at security. We tested models with dedicated compartments that actually work.